
“Hopefully, Andy will blog…” was the command that Jim Groom gave as he wrote about the Reclaim Today episode that I joined with both Jim, and Tim Owens, the founders of Reclaim Hosting. Of course, not only do they run Reclaim Hosting, but they are colleagues and former office mates of mine from the University of Mary Washington days. Saying yes to their invitation to talk about the studio space that I have been using and tweaking and updating since I’ve been at the University of North Florida, was a no brainer. Try to get me to stop talking about it.
We began our conversation with a bit of catch-up. I have seen Jim and Tim in person at various points over the last 5 years since I left Virginia. However, those events and conversations were mainly focused on Domain of One’s Own and web hosting administration. I serve as the lead support person for our version called UNF Faculty Domains. It’s been a while since I got to talk with them at length about video production.
Early on in our conversation, Tim showed a triggering photograph of the studio that I helped set up at UMW. The photograph reminded me of the pleasure AND the pain of working with a vendor to create a space that will function the way that you want it to, while providing both flexibility and ease of use. I learned a lot during that time as we Division of Teaching and Learning Technologies (DTLT) folks moved from an office in a 60+ year old building to a brand new, technology-laden, “one-of-a-kind” building. We were in charge of many of the spaces in the building, and to say that at times it was a challenge would be quite the understatement. Ask me about the flood sometime.
Let us not dwell on the past, however, but look to the now, as well as to the future. As I demonstrated in the video, the hub of the studio is the video switcher, the Blackmagic Design ATEM Mini. What once had a starting point of $1,000, is now available for less than $300. It’s a four-input switcher that scales each input to the correct resolution so there’s less tweaking of cameras and computers to get them to output the “right” signal.
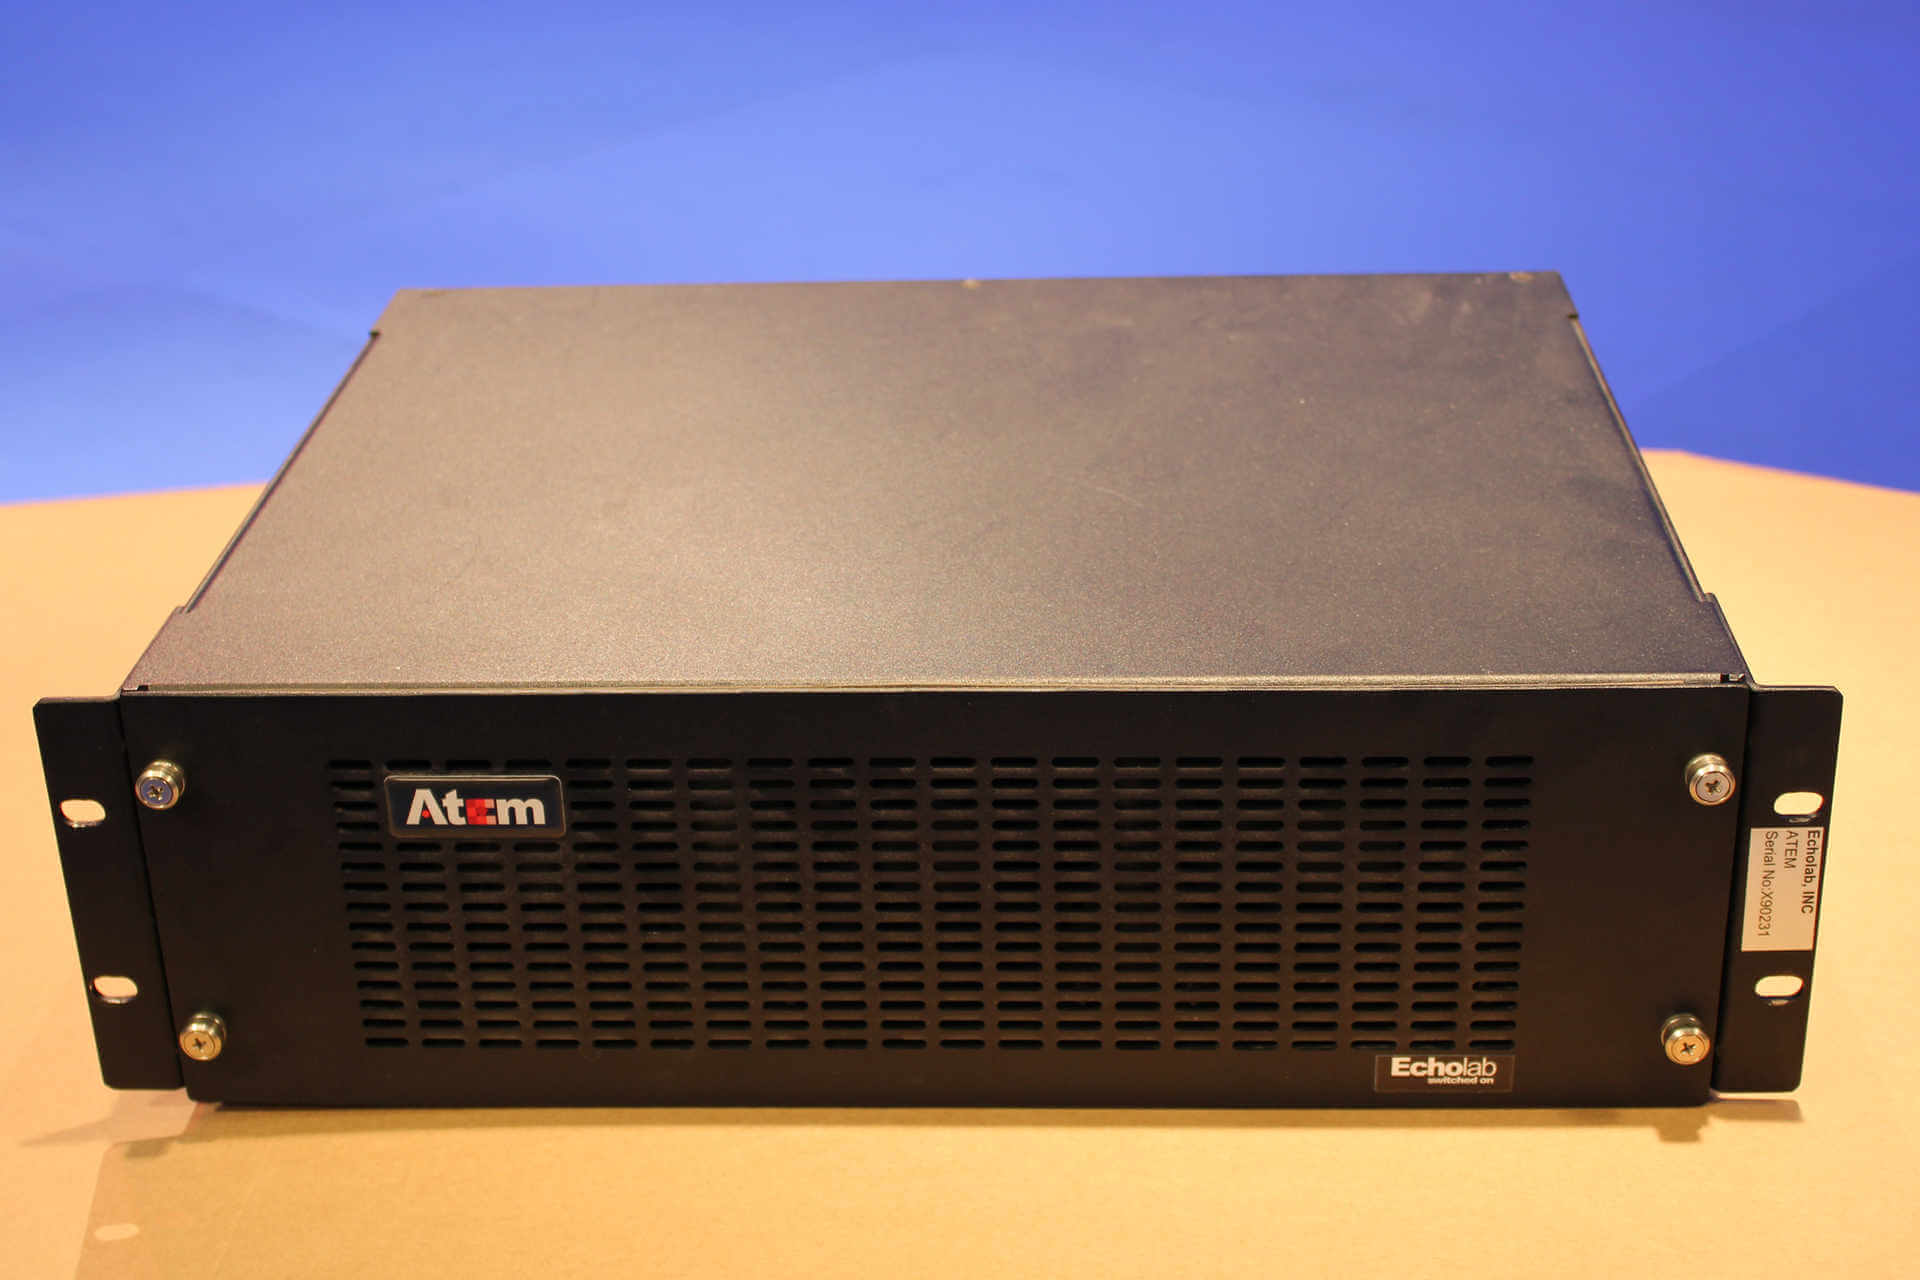
As a quick aside, I didn’t remember where Blackmagic Design got the name ATEM from, so I went back and did some research. It comes from a company they acquired in 2010, Echolab, who made a switcher called the ATEM. Atem is an alternative name of the Egyptian God Atum, who was known as “finisher of the world”. He was also known as a “creator”, which fits in well with the YouTube culture we all know and love.
So the ATEM Mini takes the four (HDMI) inputs, and sends one (HDMI) output to a recorder of some type, or if you had a live audience, you could send it to a large screen projector. Or both. However, it also can output a video signal via a USB-C cable to a computer running video sharing software such as Zoom, Skype, Google Meet, Microsoft Teams (also OBS, Streamyard, Wirecast – OK, you get the idea), basically any software that recognizes a webcam. The ATEM is a very sophisticated webcam! Instead of just sending the audio and video from your stinky built-in laptop camera and microphone, you can send high-quality video and audio from your studio cameras (again, up to four of them). Now if you didn’t need to send multiple inputs, you could use something like Elgato’s CamLink which would just send the output from one camera connected via HDMI cable. But four is better than one though right?
Next, I’ll describe some of the details of the studio as it was in the recording. Starting with the main camera. We are using a Panasonic GH5. Why this camera over the others? A few reasons. It is less expensive than camera/DSLRs that are comparable ($1,400 for the body only), like Canon and Sony. It has a full size HDMI port for outputting video, which allows the flexibility of using a wider range of cable lengths. It also outputs up to 4K 10-bit 4:2:2 video (cheaper cameras output 8-bit 4:2:0 video). You get noticeably better green screen chroma key with the 4:2:2 compression. It also supports a compact XLR adapter with a low low-noise pre-amp that accepts two microphones (and the hot-shoe connection means no cables into the camera). We use either a Sennheiser MKE600 shotgun mic, or the Sennheiser ew-112 wireless system. So the audio captured using this camera can be used when we switch to any of the inputs – computer, iPad, GoPro, etc.
We use a Mac for the software control, but a Windows machine could be used as well. We output from the ATEM to an Atomos Ninja V monitor/recorder which records the video to a Solid State drive (SSD). That then outputs to a Hauppauge HD PVR Rocket. This is the “Big Red Button” recorder that faculty will plug their USB flash drive into to record their presentation. A quick note that Hauppauge also has the HD PVR Pro 60 – that will record to an SD card instead of a USB drive (but no “big red button” – it’s black). I can’t speak to how well it works, but it’s worth mentioning. Finally, the output from the “Rocket” goes to a large studio monitor that the faculty member can use for confidence.
We have other miscellaneous equipment that I will list below, but it’s worth mentioning that one of the important parts of the studio demo was the Learning Glass Lightboard, which, from every indication, faculty will really go for. If you’re ready for the list, here is what we are currently using in our particular studio at UNF:
- Panasonic Lumix GH5 – (Input 1) our main studio camera with a 12-35 f2.8 micro four-thirds lens (24-70 35mm equivalent)
- Panasonic DMW-XLR1 XLR Microphone Adapter – brings in up to two XLR inputs.
- Sennheiser MKE600 shotgun microphone – our main talking-head mic mounted on a boom stand
- Sennheiser ew-112 Pro wireless lavalier system – we use this (an older version – the G3) for faculty who might be moving around more in the space – such as the Lightboard.
- 27” iMac – (Input 2) controls the ATEM software as well as provides the graphics, PowerPoint, webpages, etc. as input
- Apple iPad – (Input 3) using the Apple Lightning Digital AV Adapter with HDMI
- GoPro Camera – (Input 4) we used a GoPro Hero 4 (we’ll use a GoPro Hero 8 with the “Media Mod” in the future – I think – or a Hero 9?)
Coming out of the ATEM to:
- Atomos Ninja V monitor/recorder
- Hauppauge HD PVR Rocket
- Studio Monitor (Currently a 32” Vizio TV)
Other equipment
- Manfrotto 502AH Video Head & MT055XPRO3 Aluminum Tripod Kit – Yes, I do make the investment in good tripods, but you could also get by with something like the Magnus VT-100 Tripod System
- TP-Link 5 Port Gigabit Ethernet Network Switch (TL-SG105) – connects the computer to the ATEM for software control
- Decimator MD-HX – This does the horizontal flipping of the image from the Lightboard
- Elgato Stream Deck – This runs software to give extra switcher functionality with push-button ease
- Dracast LED500 light (3) with softbox – ceiling lights for green screen
- Fovitec Portable 2-Light 600 LED Bi-Color Panel Kit – on floor for green screen.
- Studio lights for talent – We use some Westcott soft umbrella lights with CFL bulbs – these are the first to go as we’ve replaced them with Falcon Eyes Bi-Color RX-18TD LED light
- Learning Glass Lightboard
New Equipment to purchase:
- Blackmagic Design Pocket Cinema Camera 4K – This will become the new main camera, controllable with the ATEM software and communicates with the ATEM Mini for tally light
- Blackmagic Design HyperDeck Studio 2 – This will be our high quality recorder (replacing Ninja V). Rack mounted.
- Blackmagic Design HyperDeck Studio Mini – this will be a video playback machine and a backup recorder
- Rode RODECaster Pro Integrated Podcast Production Studio – Audio mixer for recording from multiple XLR mics
- Rode PodMic Dynamic Podcasting Microphone – Good inexpensive mic for podcast recordings. Integrates into RODECaster.
- Glide Gear OH 100 Adjustable Overhead Camera Platform – For shooting overhead shots of equipment, materials, and other demonstrations.
- Mac Minis (2) – one for ATEM/software control, one for graphics output
- Neewer 8.5ft X 10ft/2.6M X 3M Background Stand Support System – Backgrounds for flexible placement in studio – basic black white
- Some miscellaneous bit and bobs…
- And, oh yes, the Blackmagic Design ATEM Mini Pro ISO
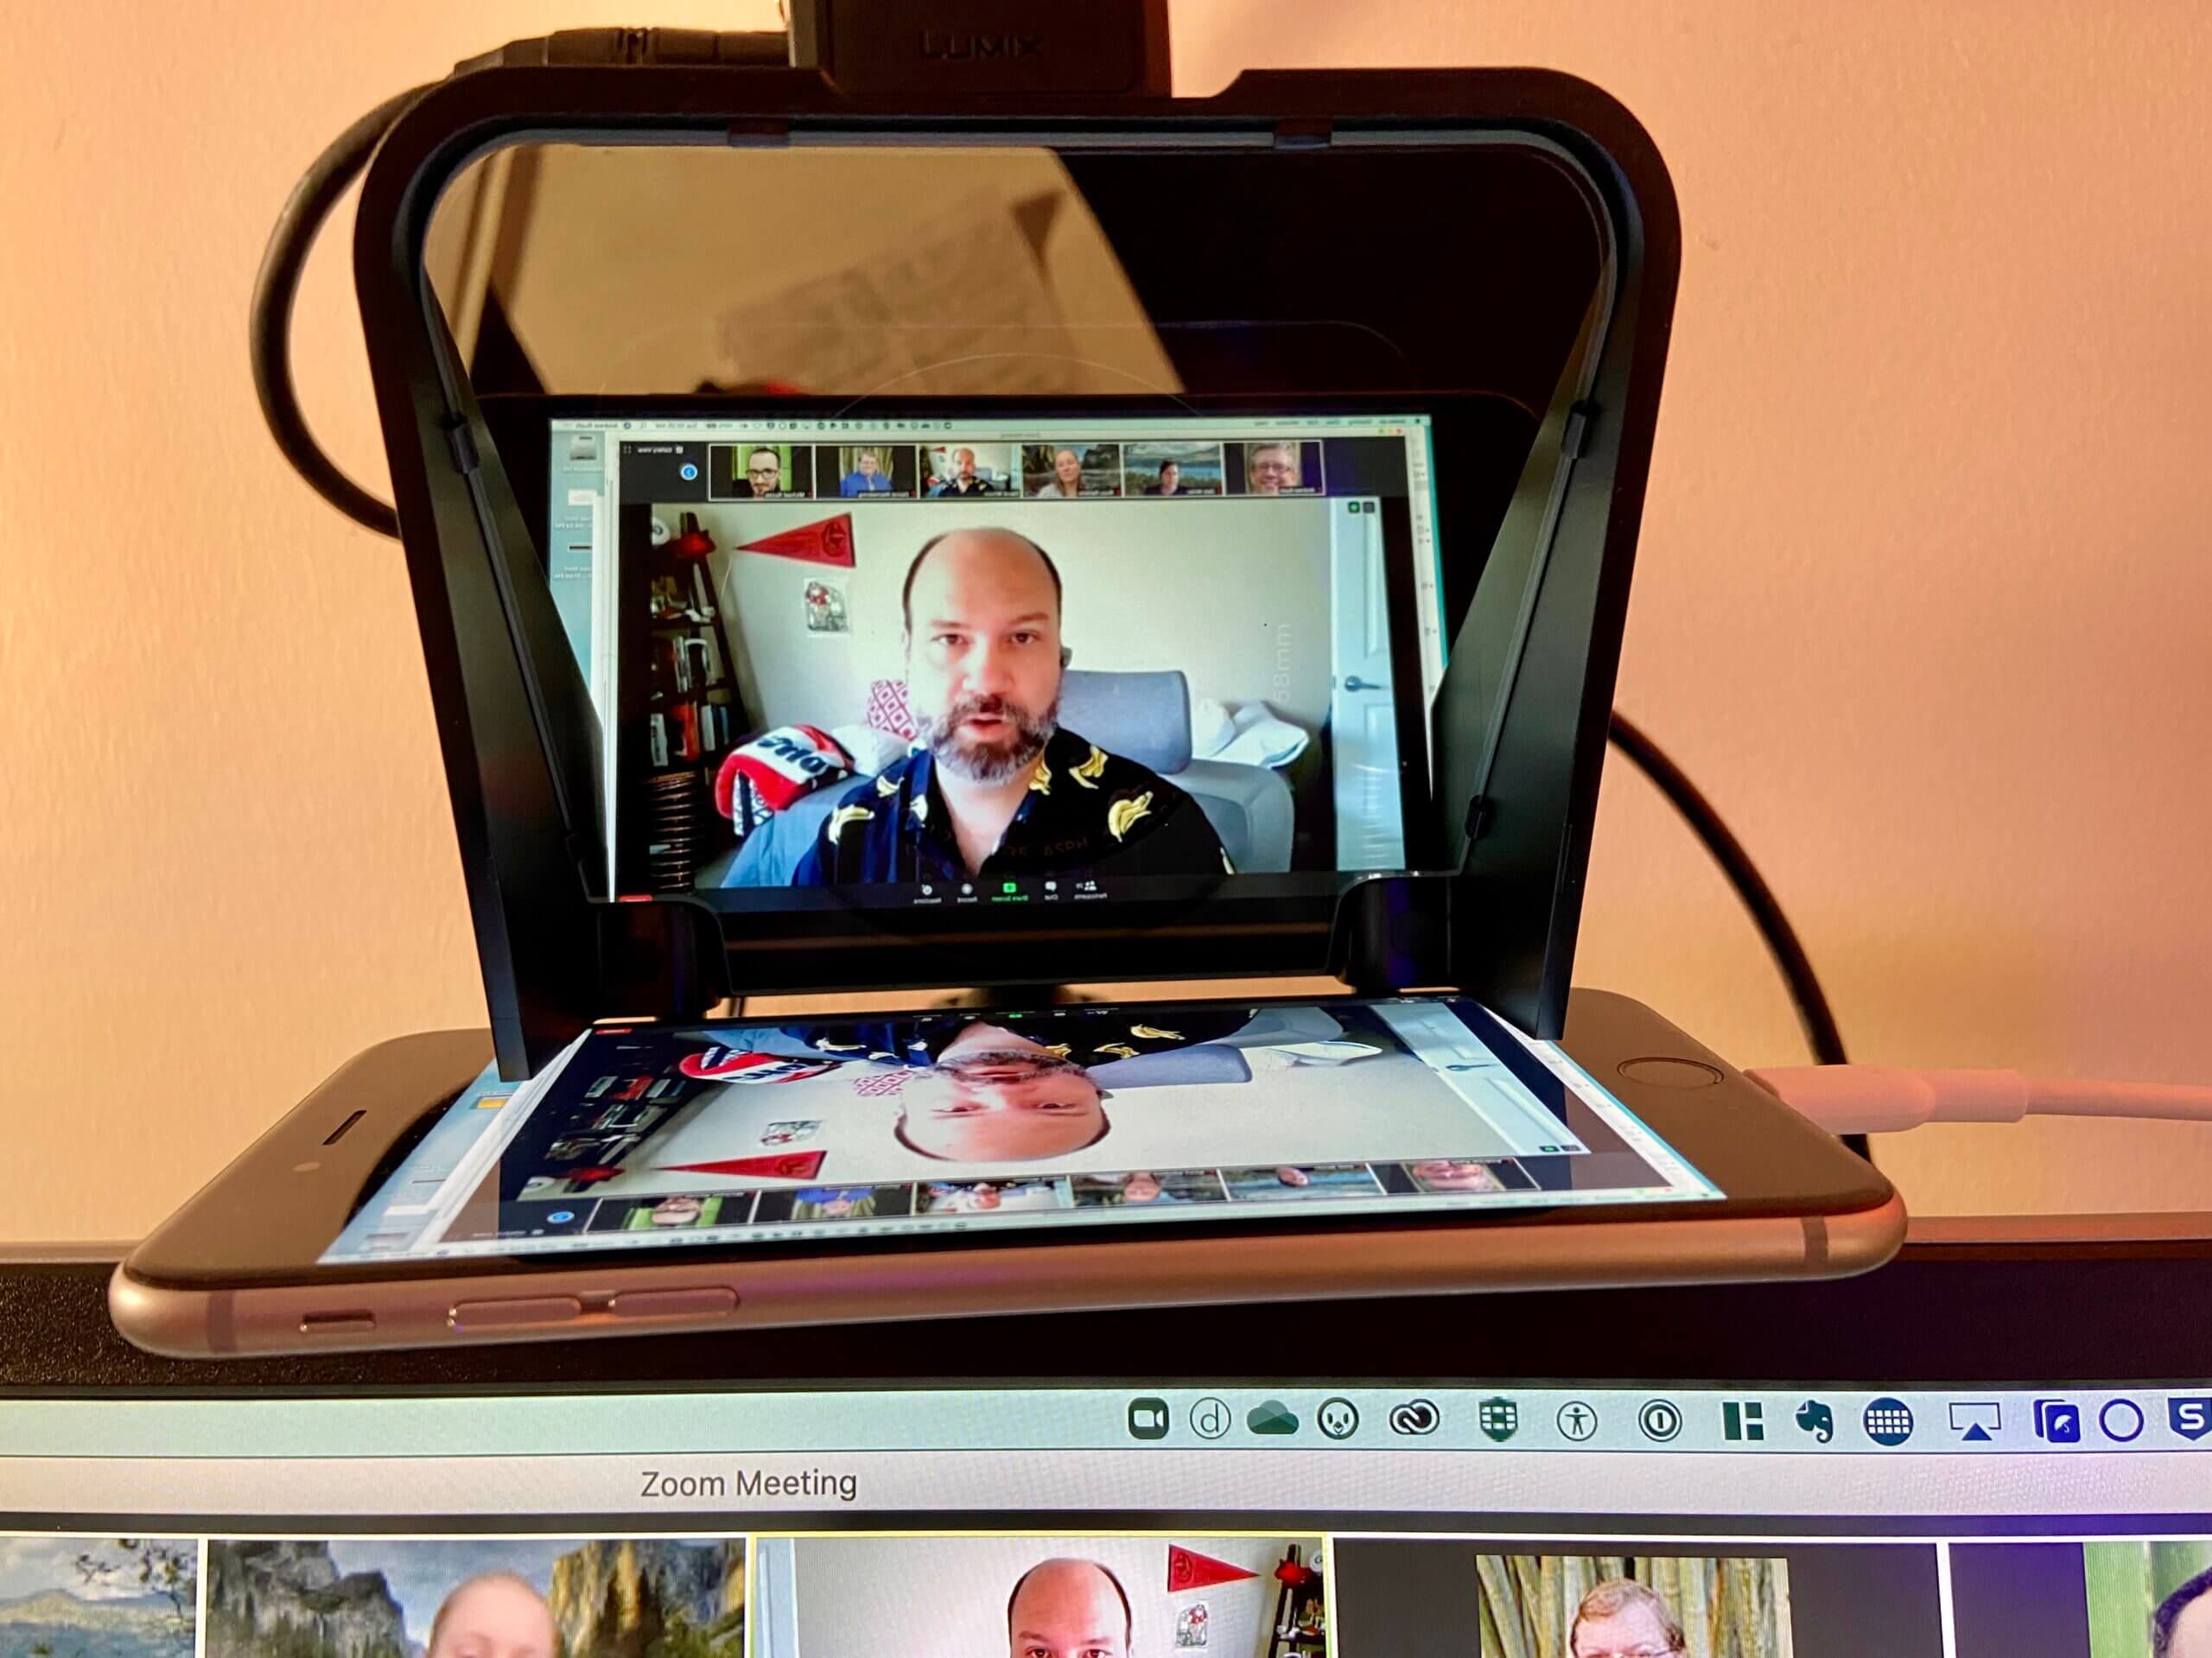
We talked a bit about making that connection with the audience, so a little bit about teleprompters. We don’t have it yet as I write this but we’ll deploy a Glide Gear Teleprompter that uses an iPad as the “display”. As we talked about it can serve as the basic text teleprompter, but also function as “the Interrotron” to look directly into the camera and always be looking into the eyes of the viewer. We’ll also use the Luna Display software/hardware to switch the iPad display the right way around (usually the video would be flipped and upside down because of the teleprompter mirrored glass). Adam Lisagor demonstrates this beautifully. I will also note that I have used a kind of mini teleprompter called the Padcaster Parrot. This little unit attaches directly to a lens on a camera that will enable the use of a camera phone as the display. However, Luna Display does not support the iPhone, which fits in the Padcaster Parrot, so something like Duet Display would be the closest thing to Luna, but it doesn’t have the nice “teleprompter mode”.
I mentioned some other software that I use with the ATEM and the Elgato Stream Deck. Companion is what powers the Stream Deck and controls the ATEM with a bunch of powerful buttons. H2R Graphics provides some additional capabilities for adding lower thirds, tickers, timers. etc. I also mentioned some YouTubers to follow who regularly work with the ATEMs:
John Barker – https://www.youtube.com/heretorecord
Aaron Pirecki – https://www.youtube.com/aaronpk
PhotoJoseph – https://www.youtube.com/user/jlinaschke
Tim Simpson – https://www.youtube.com/user/t1m51mp50n
Alex Pettitt – https://www.youtube.com/AlexPettitt
A great resource where a few of these guys hang out is the Live Video Tech forums.
Let me try to wrap things up by saying that for the most flexible setup, we probably need 6-7 inputs for all of our future wants and desires. We want to isolate a camera and have a live chroma key input so we can use the composited image in things like a Picture-in-picture (PIP) window, instead of just the plain green screen video shot. That’s where a second ATEM Mini (the Pro ISO) comes in. We can create the key in the first ATEM Mini and output that into the ATEM Mini Pro ISO. That will also give us a total of seven inputs. If we need more inputs, we’re gonna need a bigger switcher… umm, I mean a bigger ATEM.
7 Responses
And what a post it was! Such a pleasure getting to talk with you and compare notes/generate ideas. It’s also comforting to know that we are on similar wavelengths with a lot of stuff. For example Duet was what I had first been using on the iPad, had no idea about Luna Display with the teleprompter support which is huge. There are so many different elements to a studio between the lighting, audio, cameras, chromakey, mixing, editing. I feel like a cook in a kitchen that just needs one more good knife or pan to make a great dish. It’s a blast and I look forward to more conversations as we both develop out our spaces.
This is an amazing compilation of all the amazing resources you shared during the chat. It is always great to catch up, but to be talking streaming video again? Well, that is a special treat. We already did a live broadcast from our “TV Studio” at Reclaim Hosting headquarters, and now I can dig in on some of those youtubers and various setups because I really do love this shit.
Thanks for an awesome post, I guess And He Does Blog real good!
Thanks, Boys! Feels so good to blog again. And after 5 years at UNF I am still energized by this stuff and look forward to sharing and documenting again. Can’t wait to see what we come up with!
So, Tim and I were briefly chatting yesterday, and I referenced the idea of having a more modest video rig for my home office. So I am looking into a personal “kit” if you will and was wondering if you have any suggestions that might further simplify things if, say, you had a faculty member asking for recommendations for a personal home setup. I guess my question is whether it would even be that much different
Jim, yeah it wouldn’t be that much different. One of the key differences might be if you were doing multiple inputs – as you likely would if you were streaming a gaming session with your video inset. There are so many possibilities that I need sub-sub categories – “simple basic”, “intermediate-basic”, advanced-basic”, and so on. If you just want a basic webcam from a DSLR you can go with the CamLink. However at $130 U.S. it’s not much more to go to $295 for the ATEM Mini and have 4 inputs vs. 1, which is how I’m thinking for my own home studio, the building of which is one of my next steps. If you’re not in too much of a hurry, I’m going to start outlining these setups over the next week or so. Knowing what’s on YouTube you’ll get about 100 different answers as to what equipment to buy. I hope to make sense out of it for people.