A project I just finished almost requires me to blog about a few of the workflow issues. Even if no one reads this it will go down in the archives as a “reference post”, so here goes. A faculty member here at UMW wanted to put speeches that his students recorded, on YouTube, and then create posts on a UMW Blogs site. Some of the speeches were recorded in the class, and some of them were recorded in DTLT’s “studio” (in quotes because you wouldn’t call it a studio if you saw it). The faculty member’s camcorder was a digital 8mm camera (with FireWire), so those were easily captured onto “The Beast” (our PC editing station). We used a Sony wireless lavaliere microphone setup to get good audio, as opposed to the standard noisy on-board mic that camcorders have. I set up a similar scene to the classroom in our “studio”.
So my first scare was the horrible crackling sound on the audio track for the videos shot in the classroom. Thankfully it was only on a couple of videos, and only on the right audio track, so it was easily muted in Adobe Audition. I’m using Adobe Premiere CS2 so it easily integrates with Audition, and switching out audio is simple. So a couple of tips to come away with:
- Use an external microphone.
- Use headphones connected to the camcorder to monitor the sound from the external microphone.
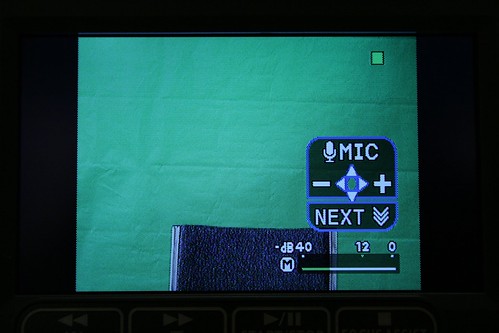
The “studio” setup was, as I said, similar to the classroom, though I did use a different camcorder (Canon HV-20) with a less noisy microphone jack and with the ability to manually change the audio levels (couldn’t find that on the faculty’s camcorder). Things were streamlined by recording directly to the hard drive (thereby skipping the video capture step) with a piece of software called DV Rack. Formerly a Serious Magic product, now known as On Location from Adobe, it records as standard DV (.avi) files. It did a basically flawless job, though it did provide another scare as some students talked louder and horrible clipping noises were present, but only when played back within DV Rack. The noises weren’t present when I played back the video in other media players.
I was very conscious of keeping the look of the classroom when I shot the video of the students in the “studio”, so I set the camera to auto white balance. We shot the videos in a very confined space. Despite giving the students directions to look straight into the camera, there were times when a few of them looked off camera at me at the end of their video.
Once I was done editing the videos, each clip was sent through the DivX Converter program to make smaller MPEG-4 versions of the videos to upload to YouTube. With these short videos, it is no longer a requirement to get them to smaller files as YouTube now accepts up to 1GB files. From a practical standpoint, unless you have a blazing fast Internet tube, you’re better off converting to smaller files and uploading those. The CS2 version of Premiere doesn’t allow me to save out as DivX (grrr!). The CS3 version does. Hence the use of DivX Converter, a $20 program that does batch conversion and is (now) quite stable.
Finally, it’s time to upload the videos. I had prior to this only uploaded videos one at a time. Was there a multiple video uploader for YouTube like there is for Flickr? Yep! It is PC only at this point, a Mac version is announced as on its way. YouTube is well known for sucking when it comes to video quality, but it adds other flexibilities that still make it a desirable place to serve your videos. Supposedly higher quality is coming in the near future. It’s the only thing left keeping from the title of super-uber-video-sharing site of all time.
All in all, it was a valuable education in using the popular video sharing site. Nothing like shooting 9 videos, adding to that another 6 shot in the classroom, and then 2 more that were self produced, all uploaded to YouTube to give you a real world test of the pros and cons of a service. Valuable lessons were learned, or reinforced.
Next!
4 Responses
It is all about the workflow. I was about to say that it looks you managed to do work outside YouTube, but of course this project ended up using YouTube so I guess thats out. : )